0
Skip to Content
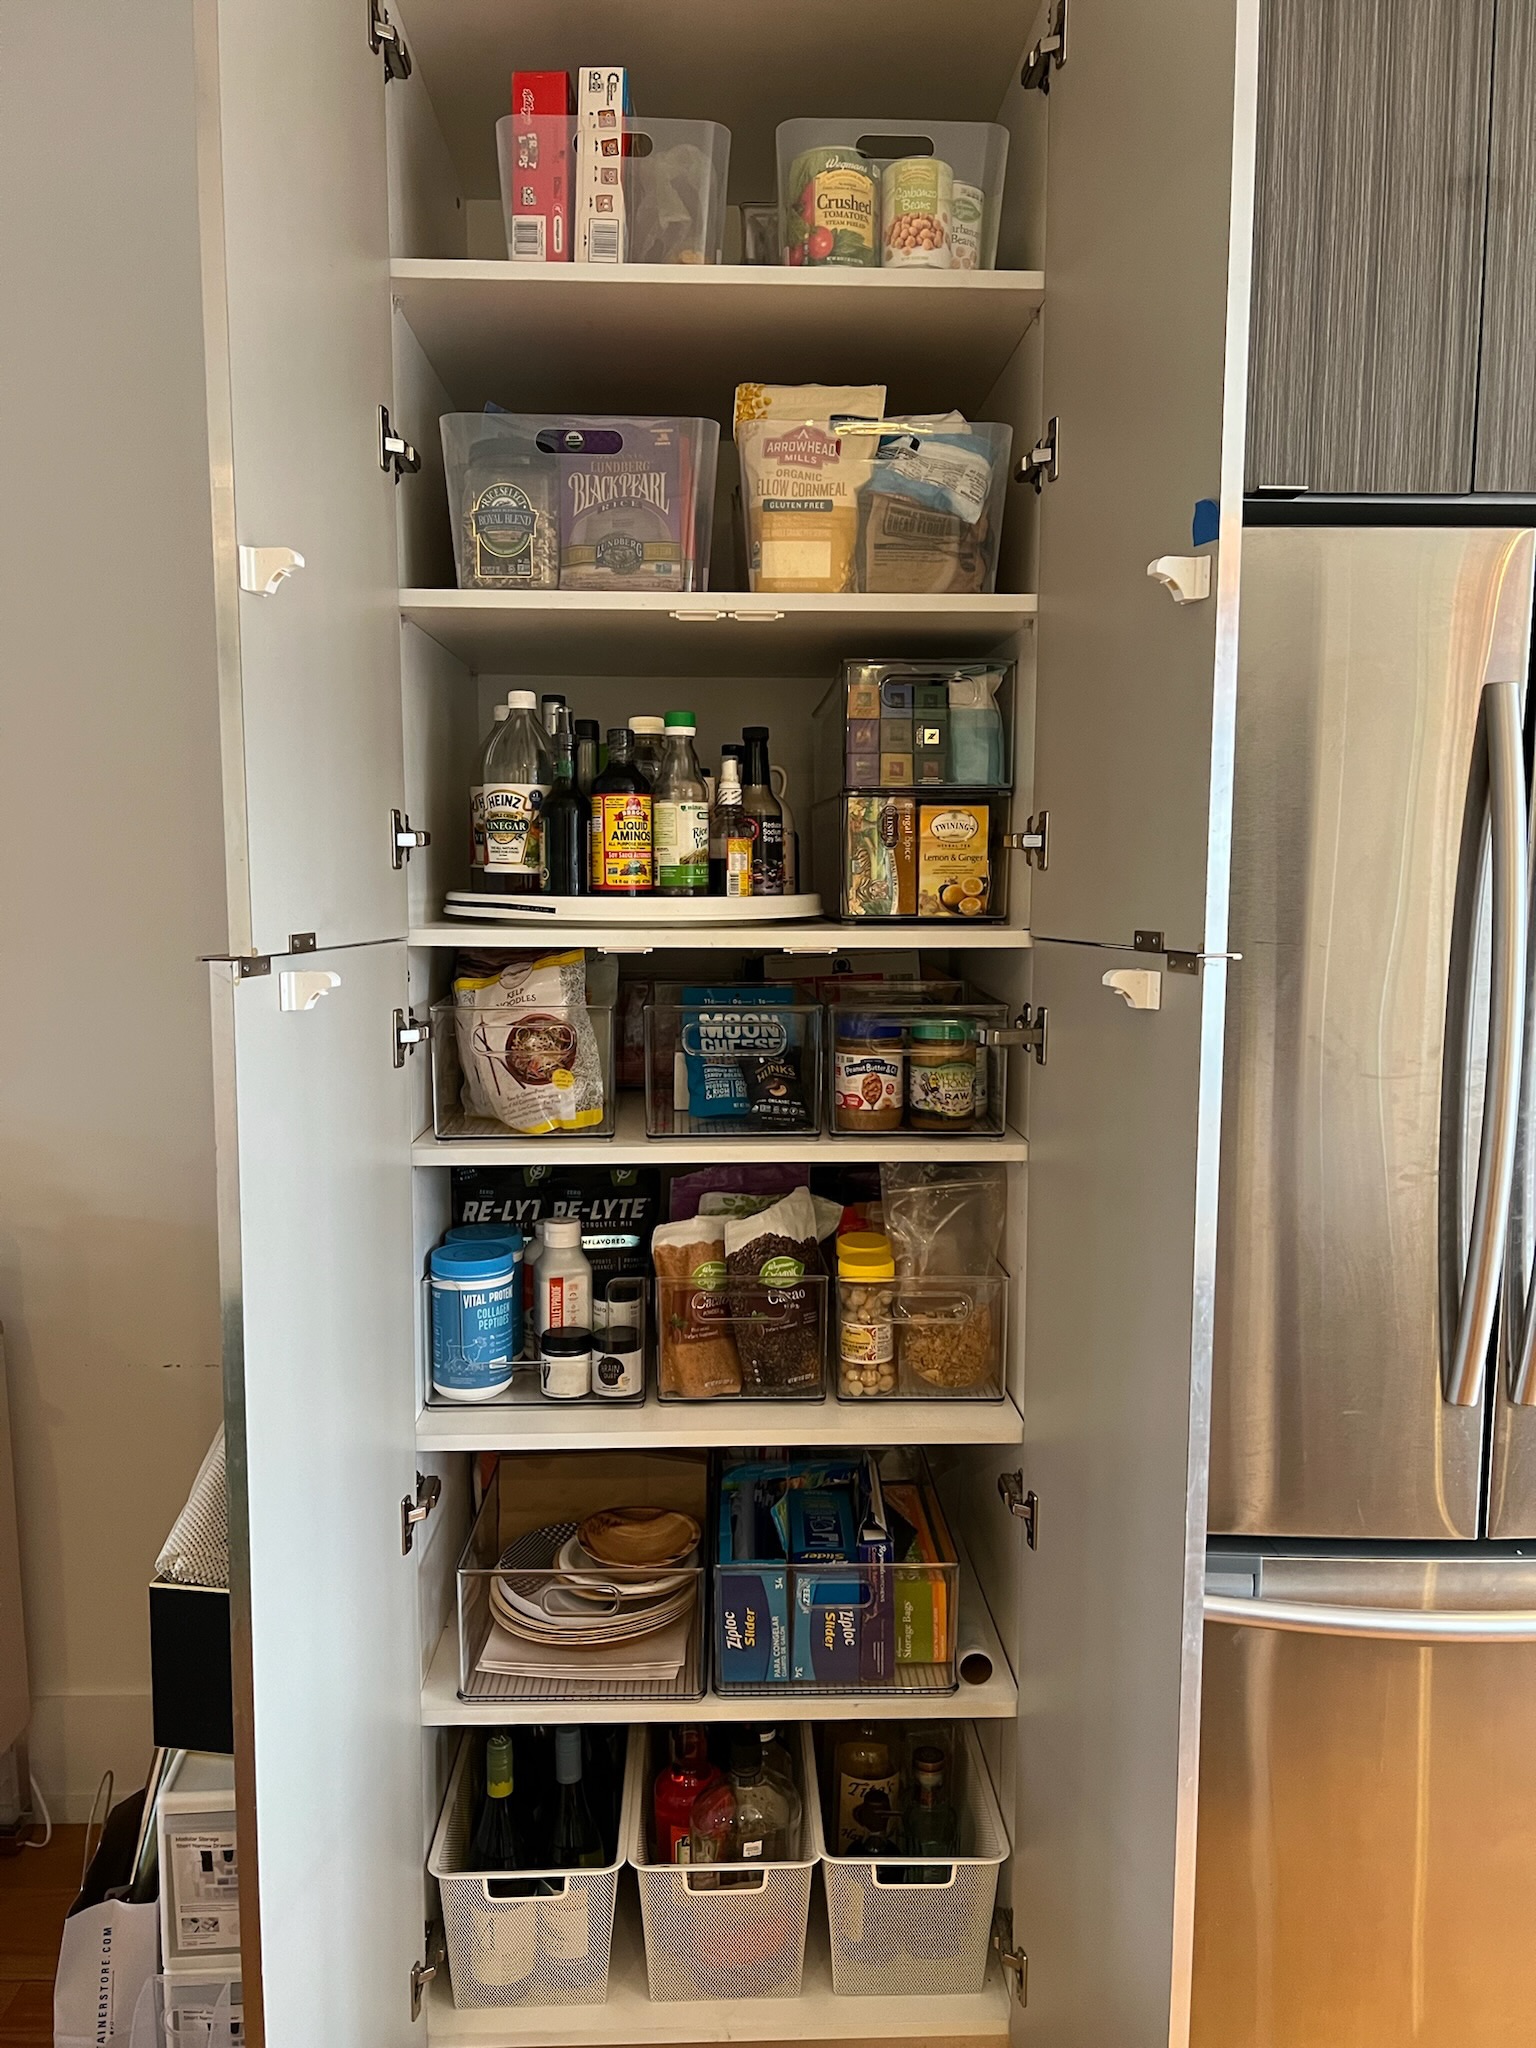
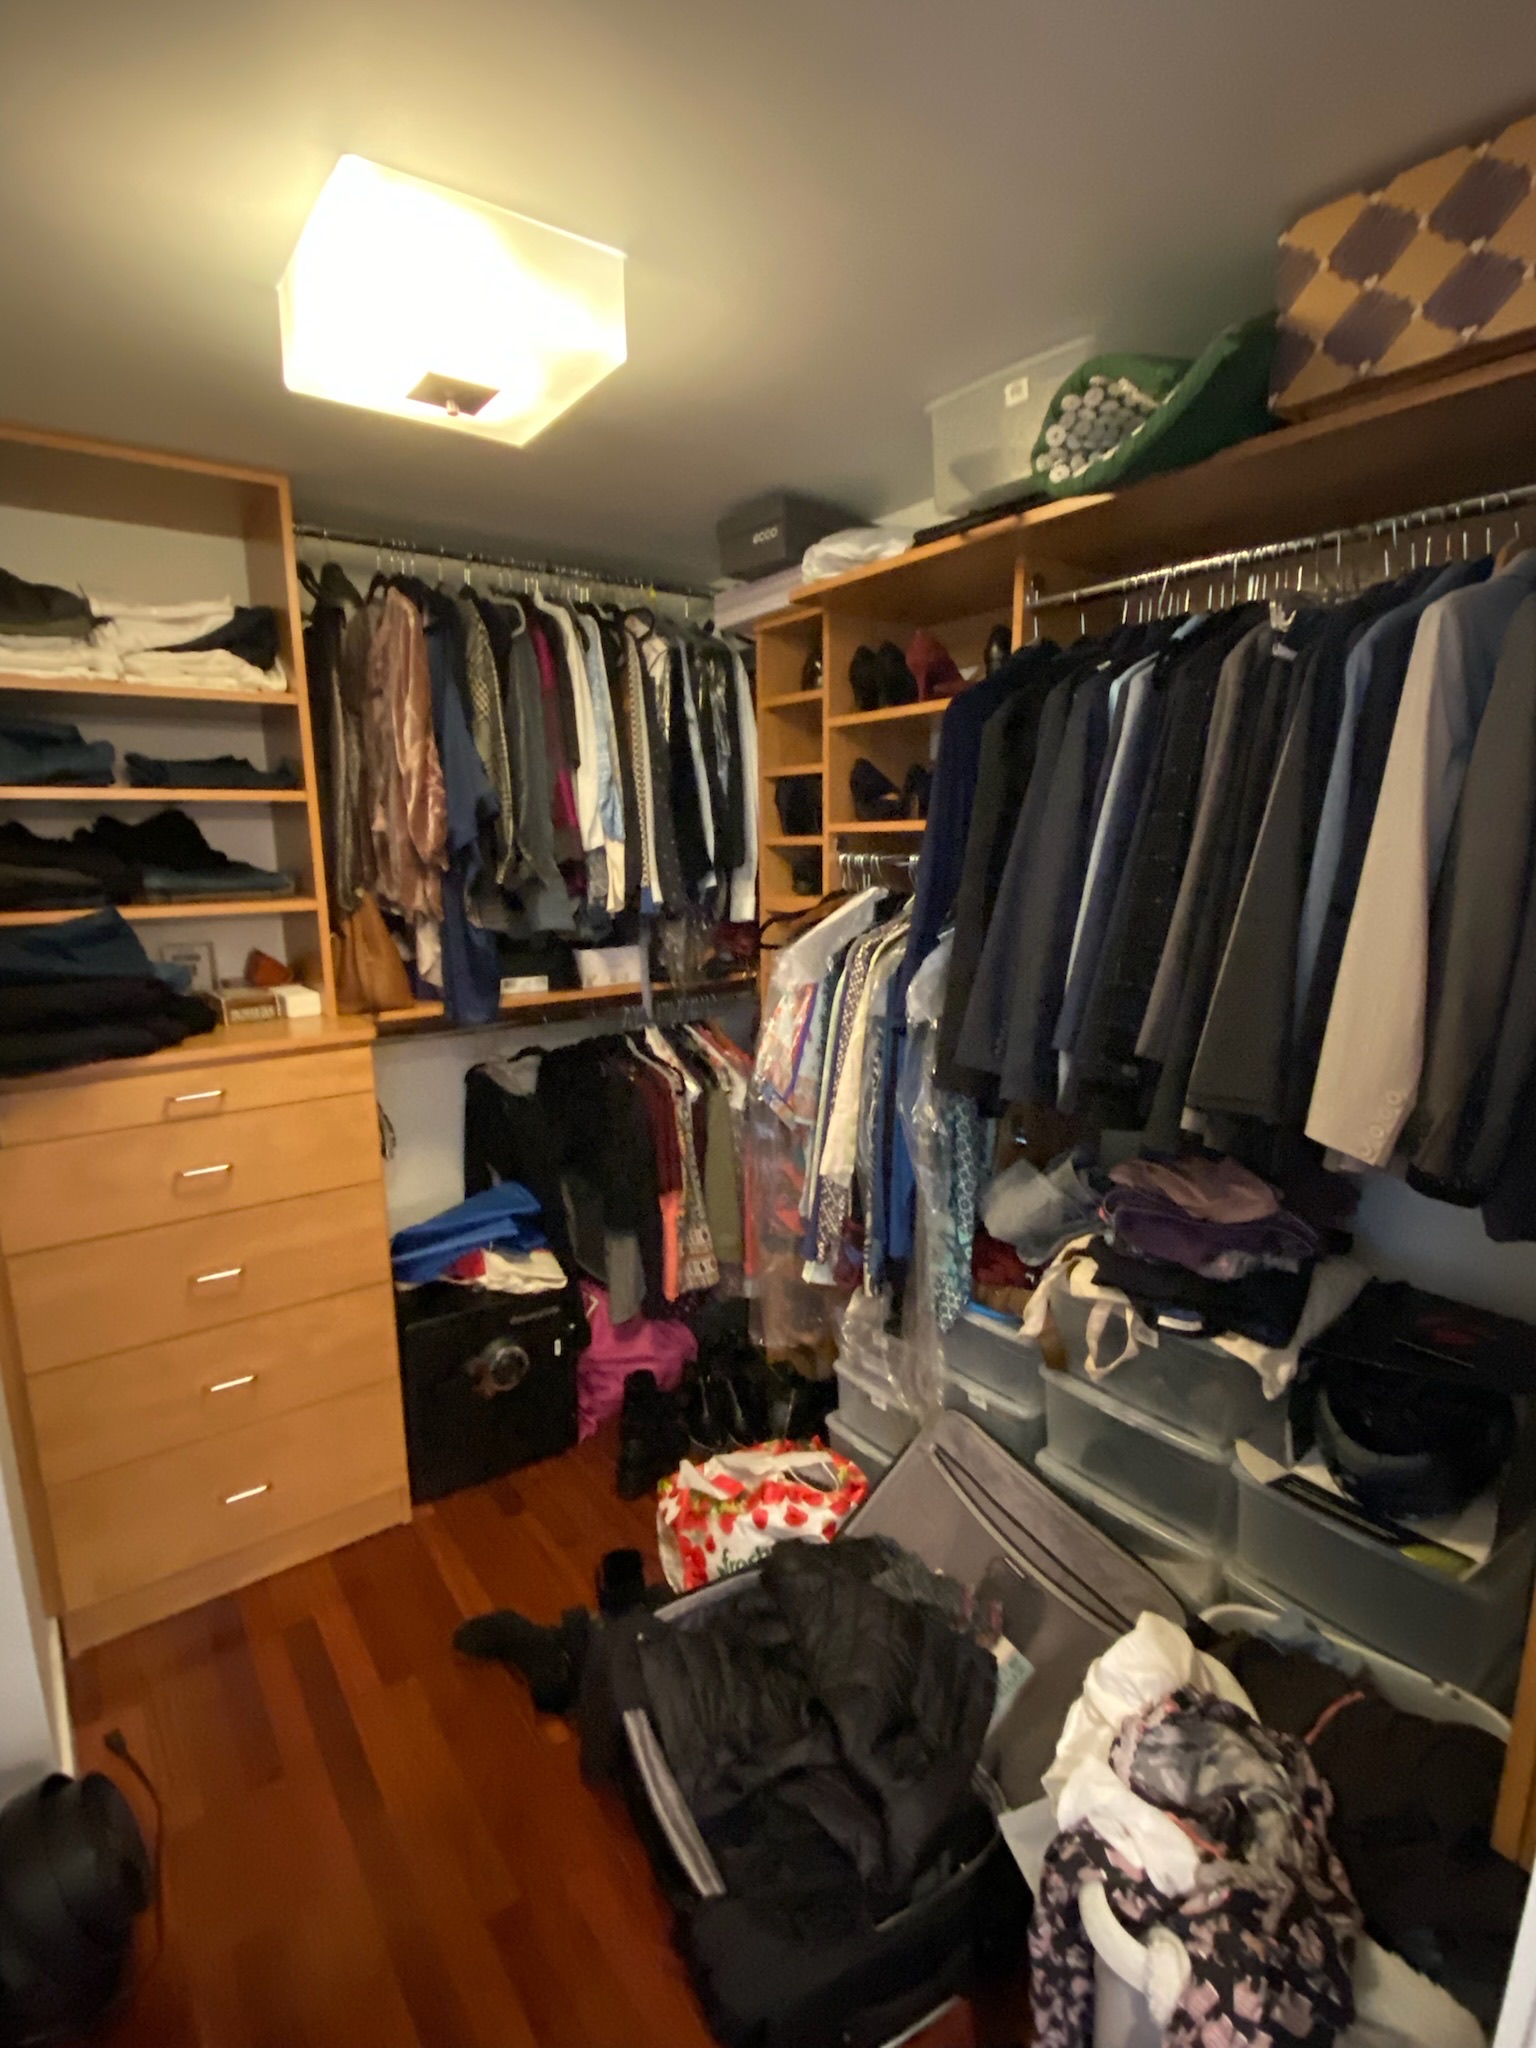
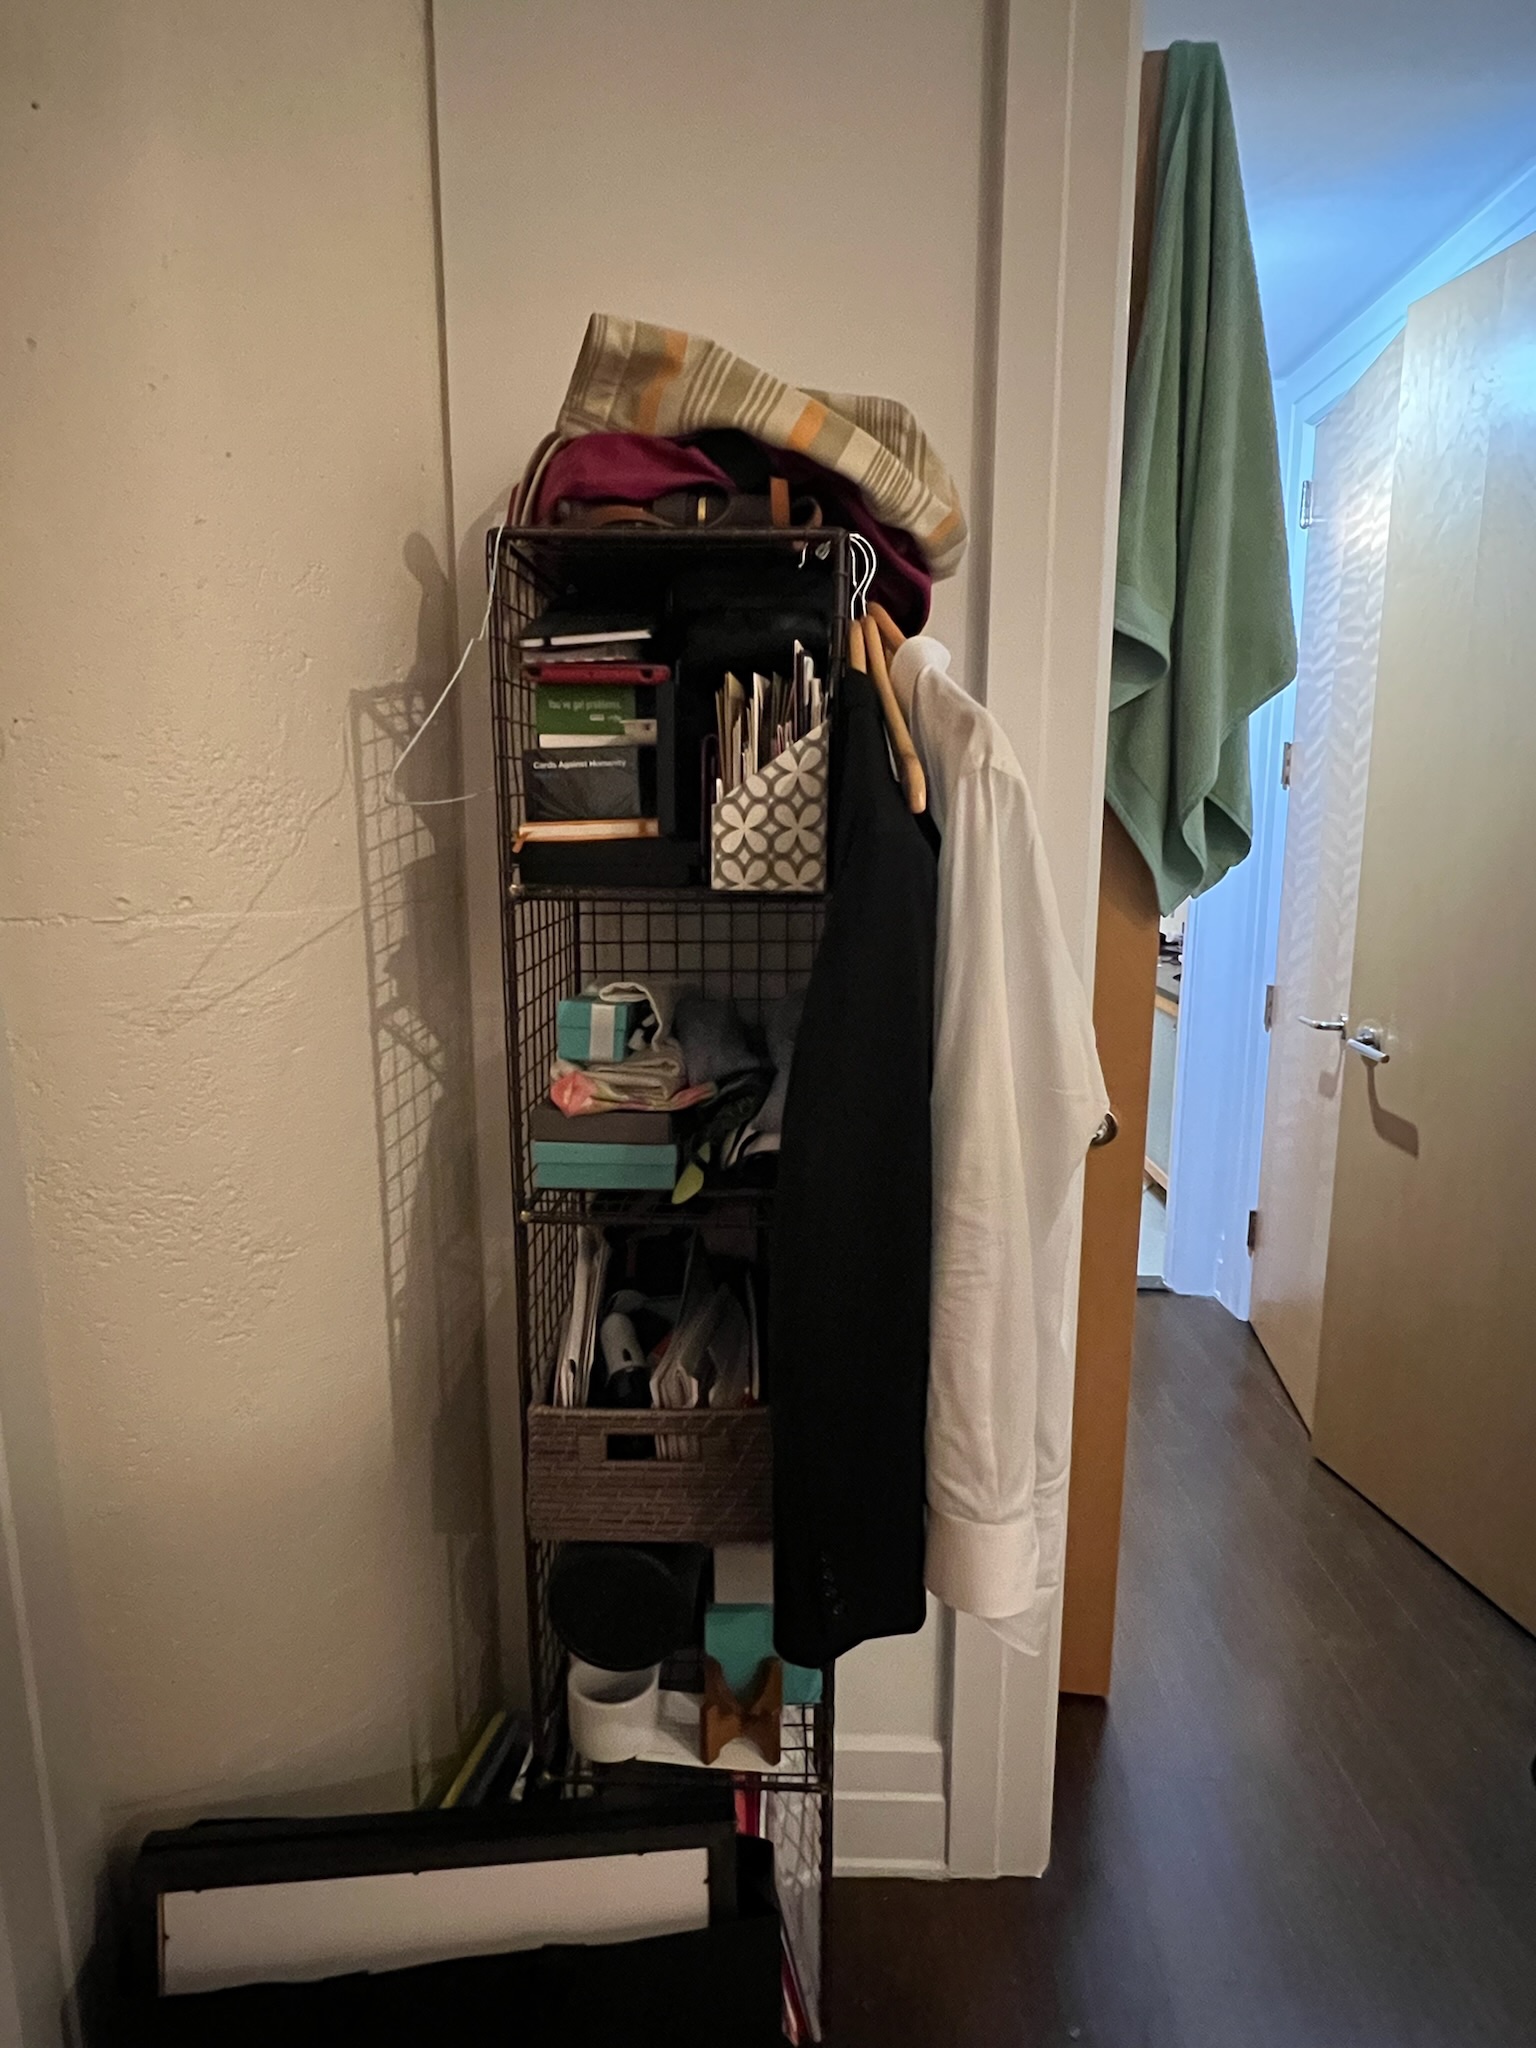
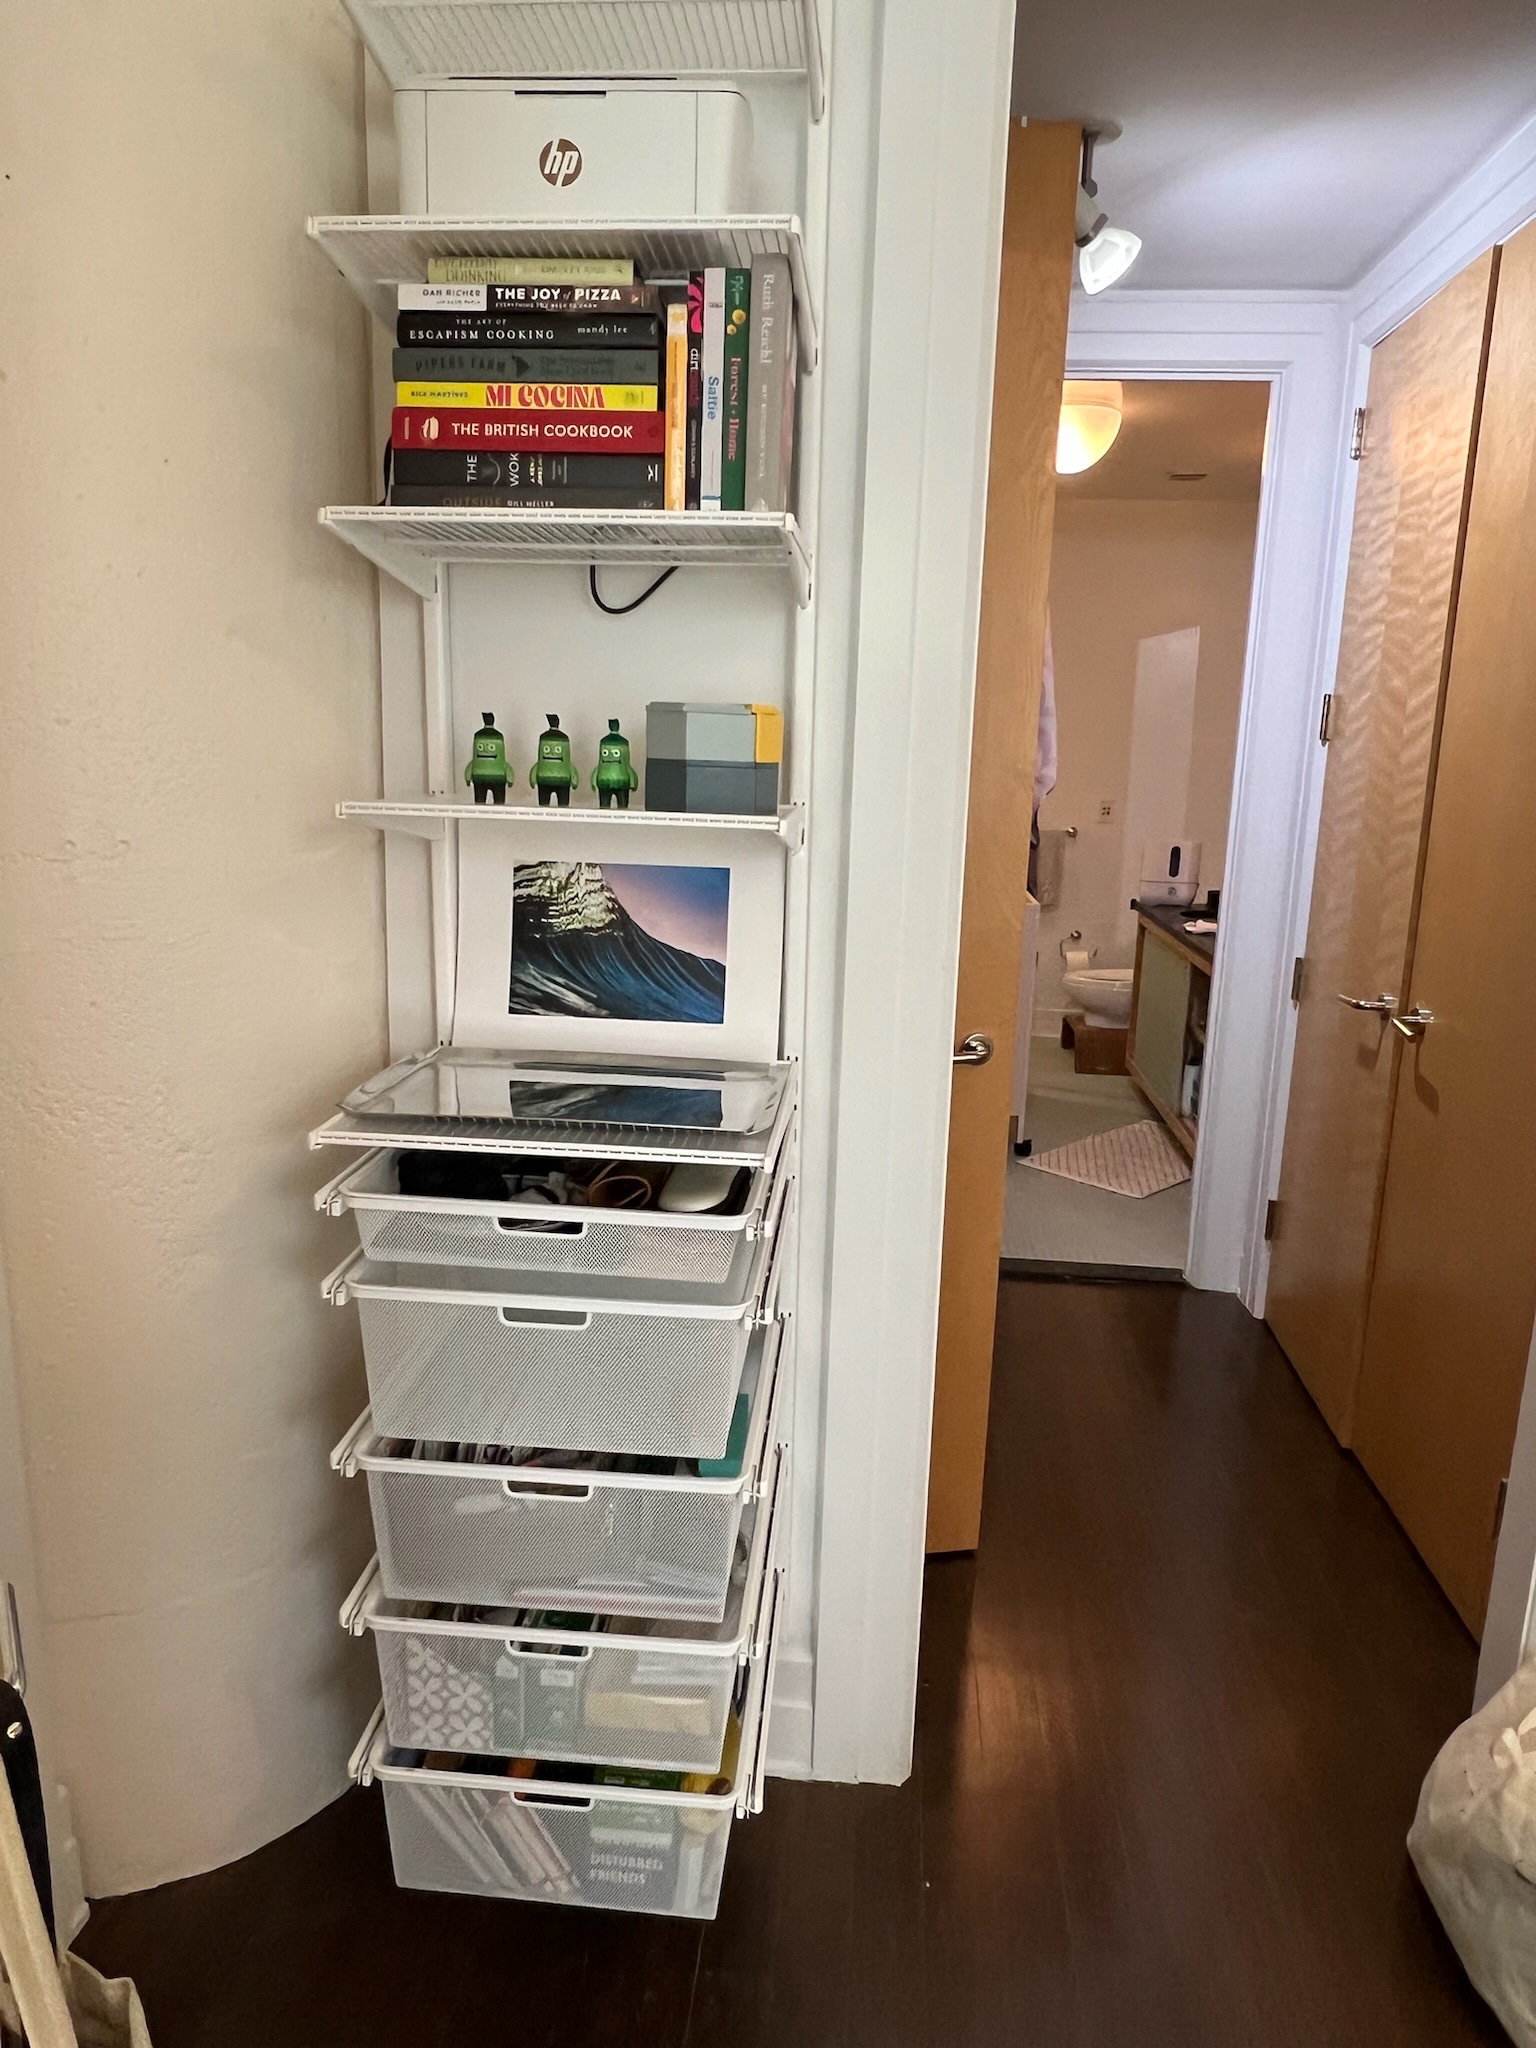
Love Your Stuff
Home
Gallery
Services
About
Contact
Open Menu
Close Menu
Love Your Stuff
Home
Gallery
Services
About
Contact
Open Menu
Close Menu
Home
Gallery
Services
About
Contact
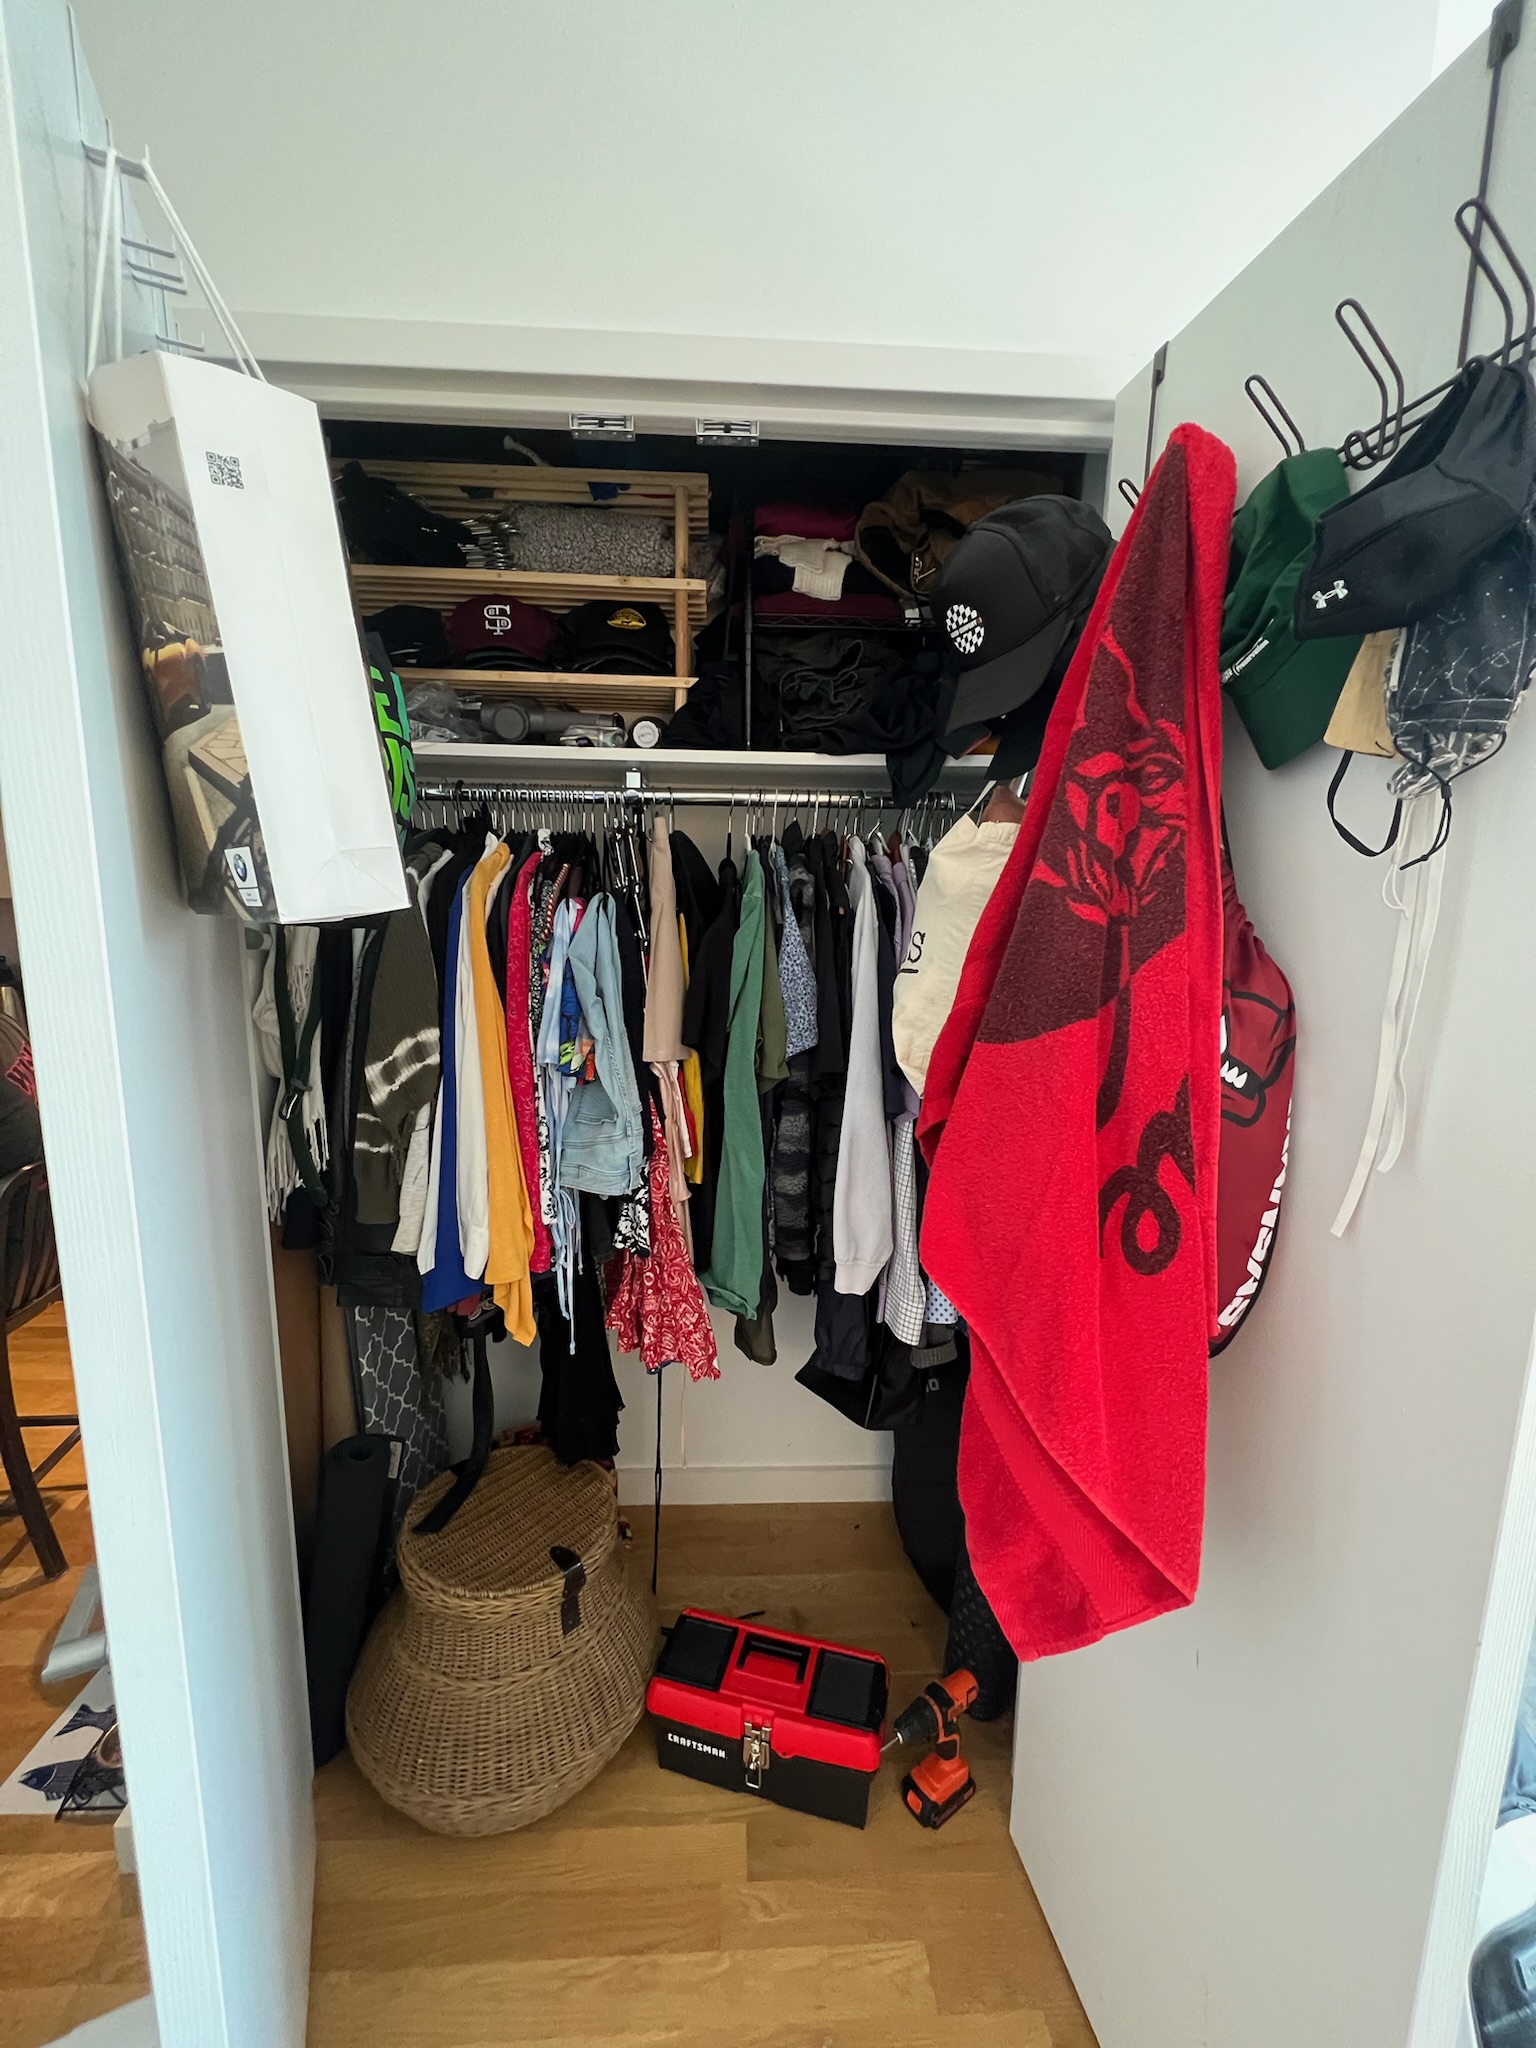
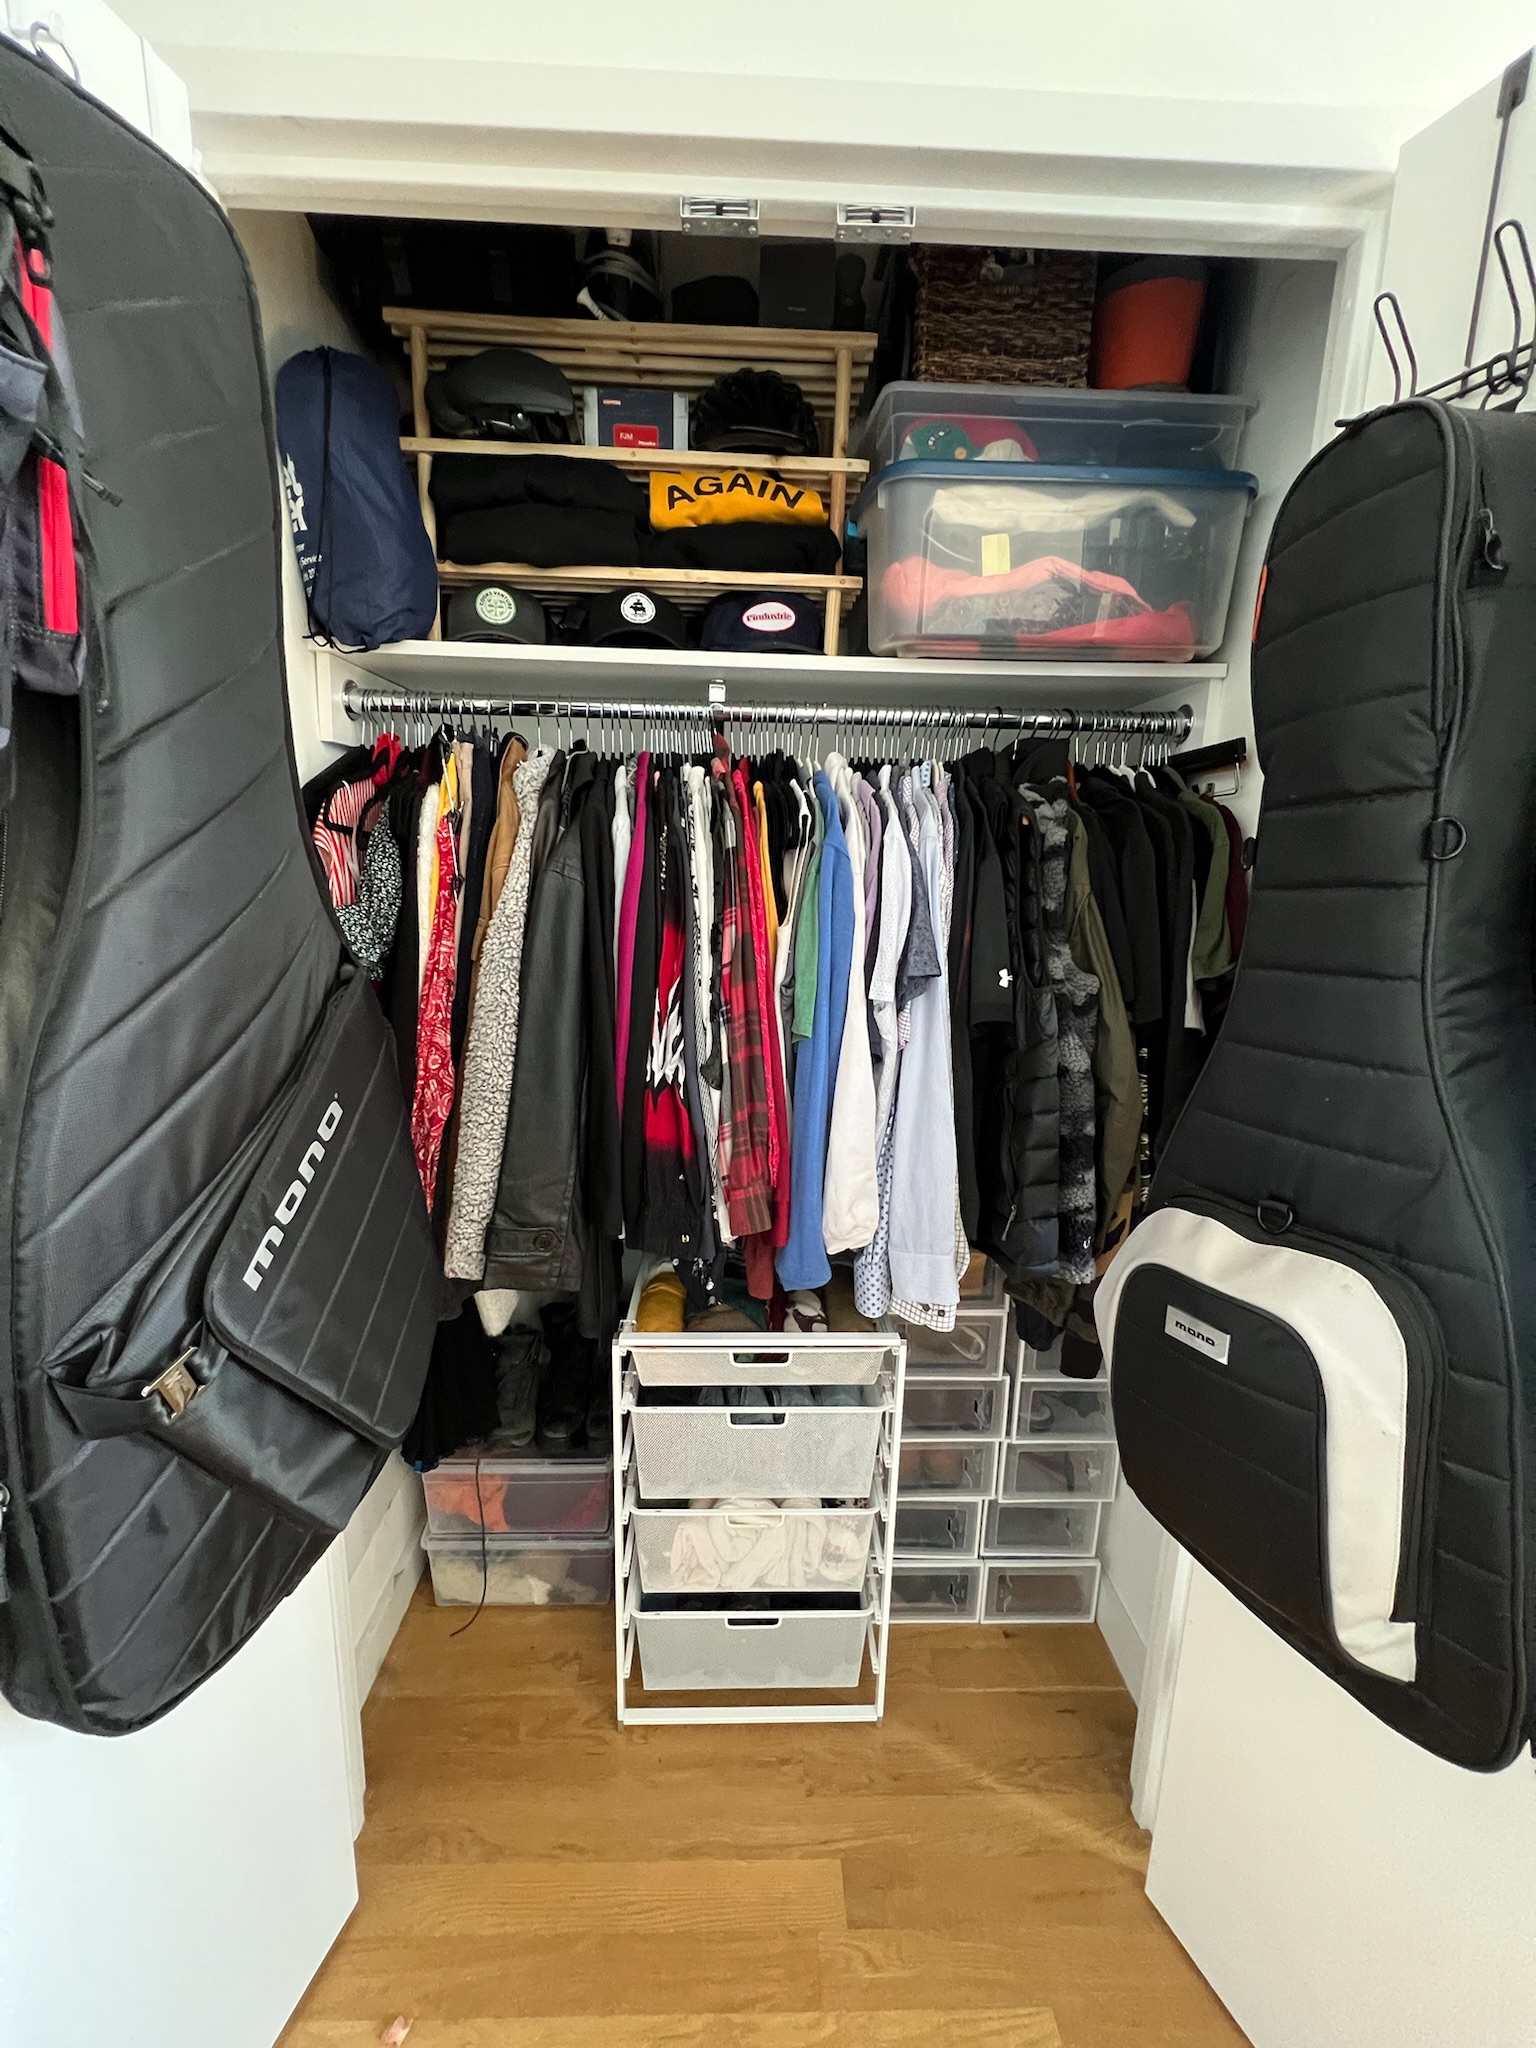
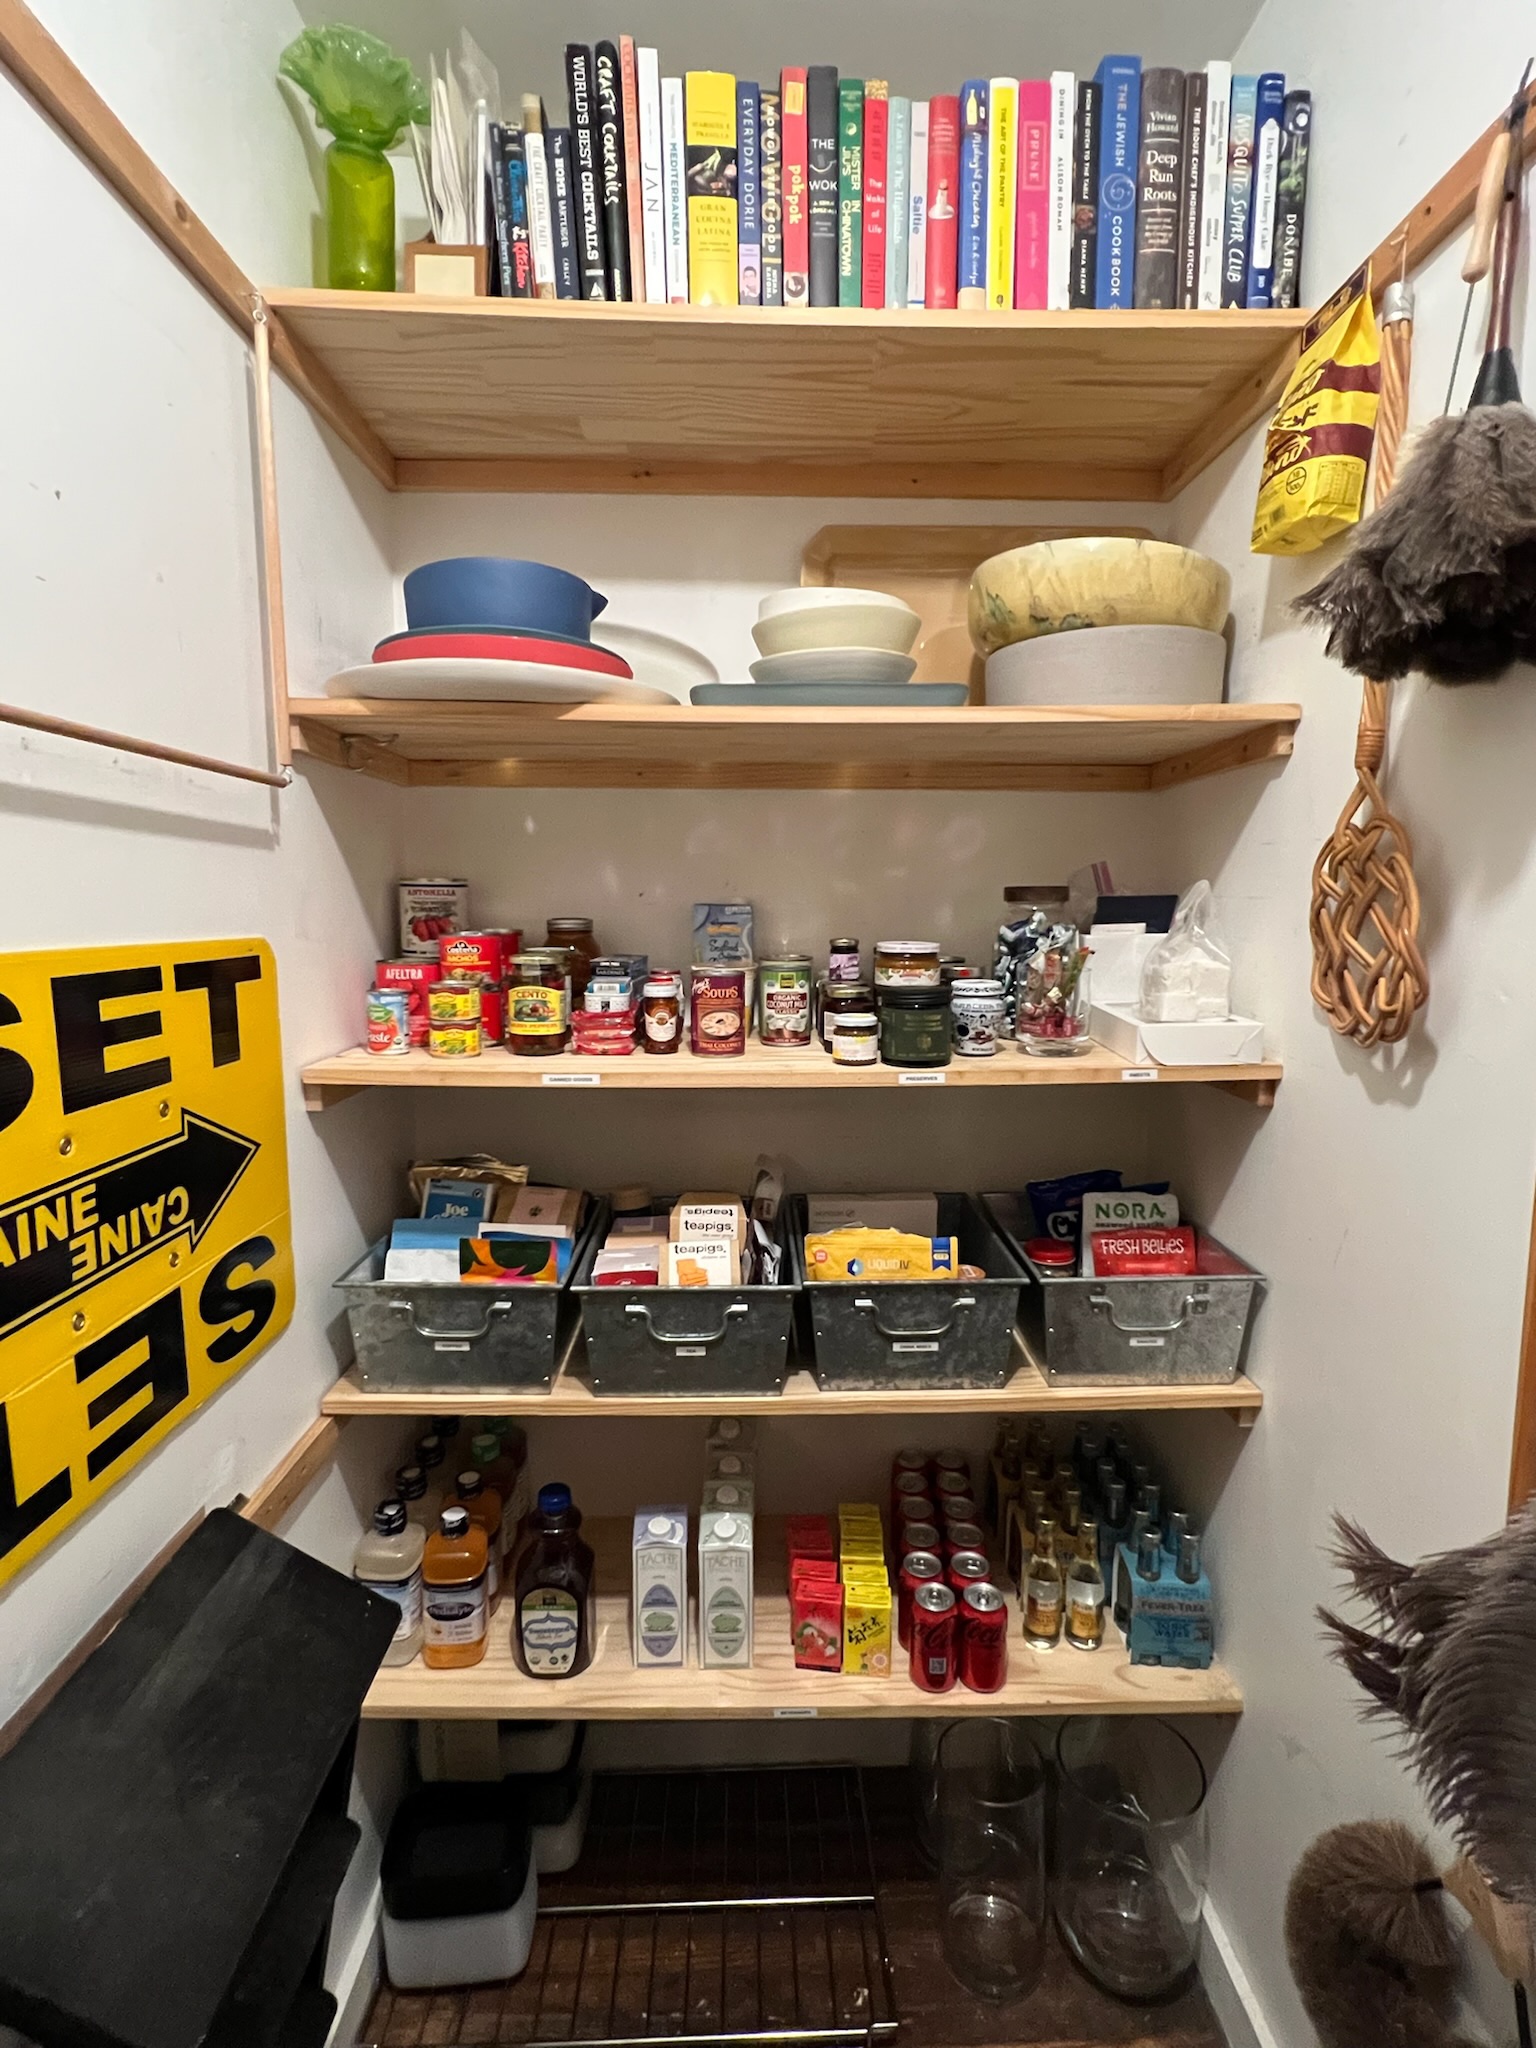
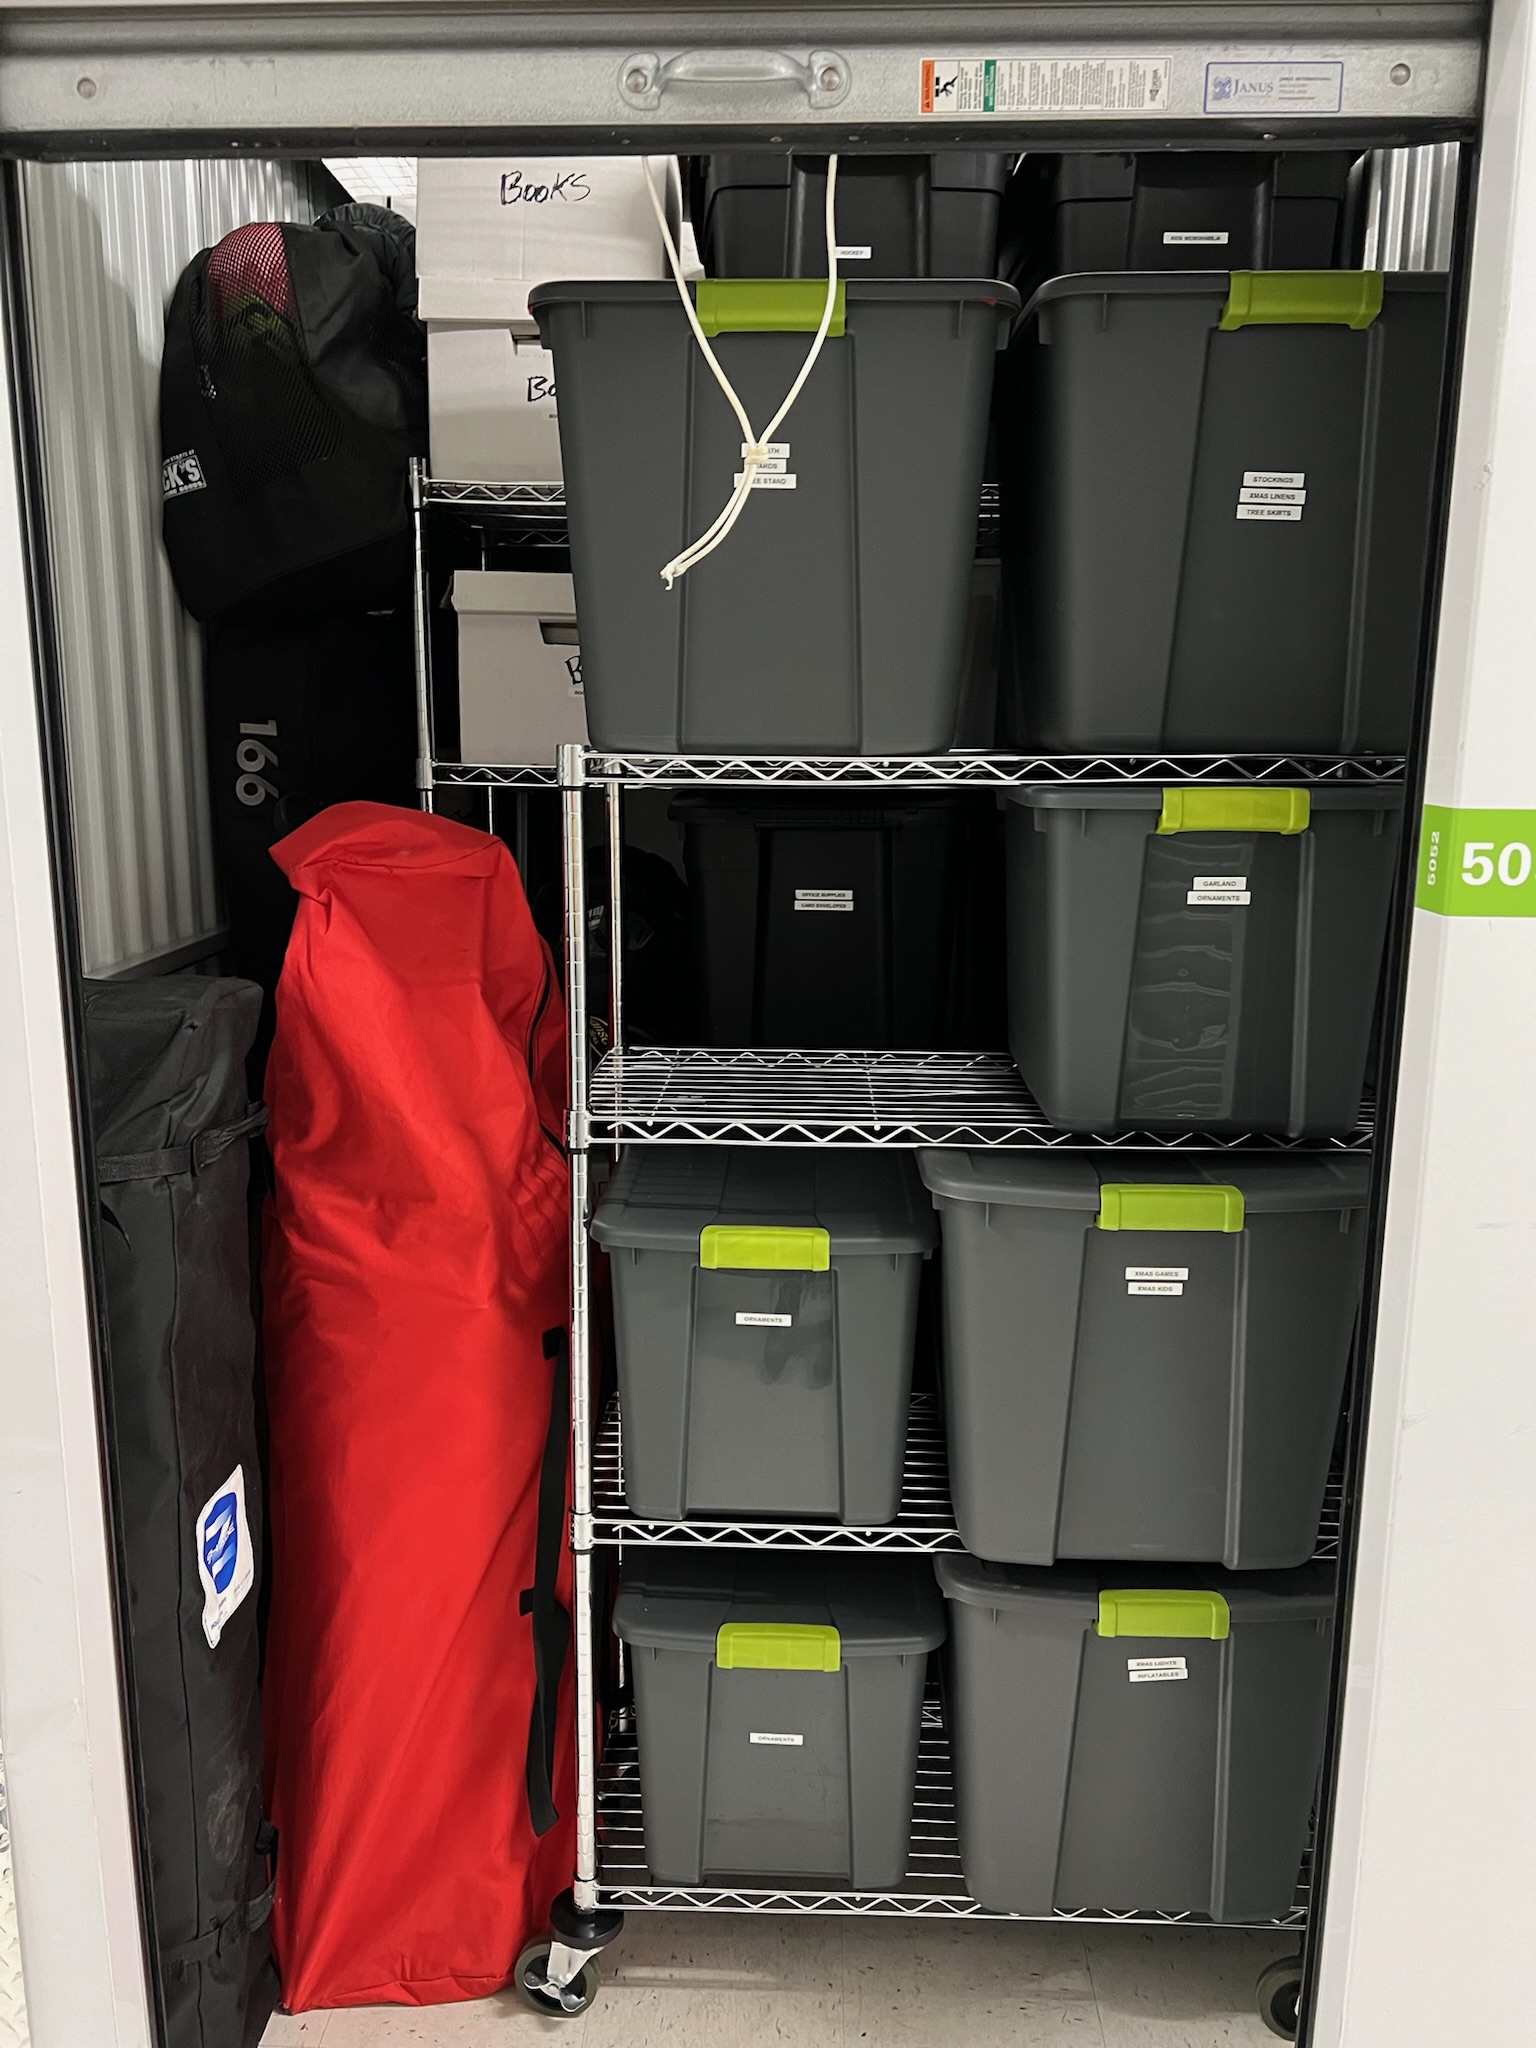
Before & After
Return to Gallery